|
You can scroll down to see training articles on Working Equitaiton from Susie Walker.
Or browse through links here to Classical Schooling. Your comments are welcome - here or on the page. Do you have a request for an article? Is there something you'd like to know about? Comment here to let us know. Horses in Balance Blog: horsesinbalance.wordpress.com/ Equine Encounters - Classical Riding FB Page & Articles: Classical Riding
1 Comment
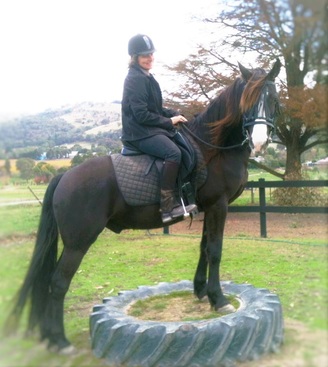
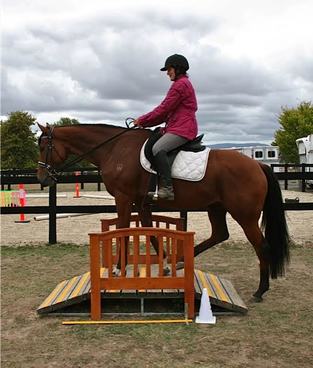
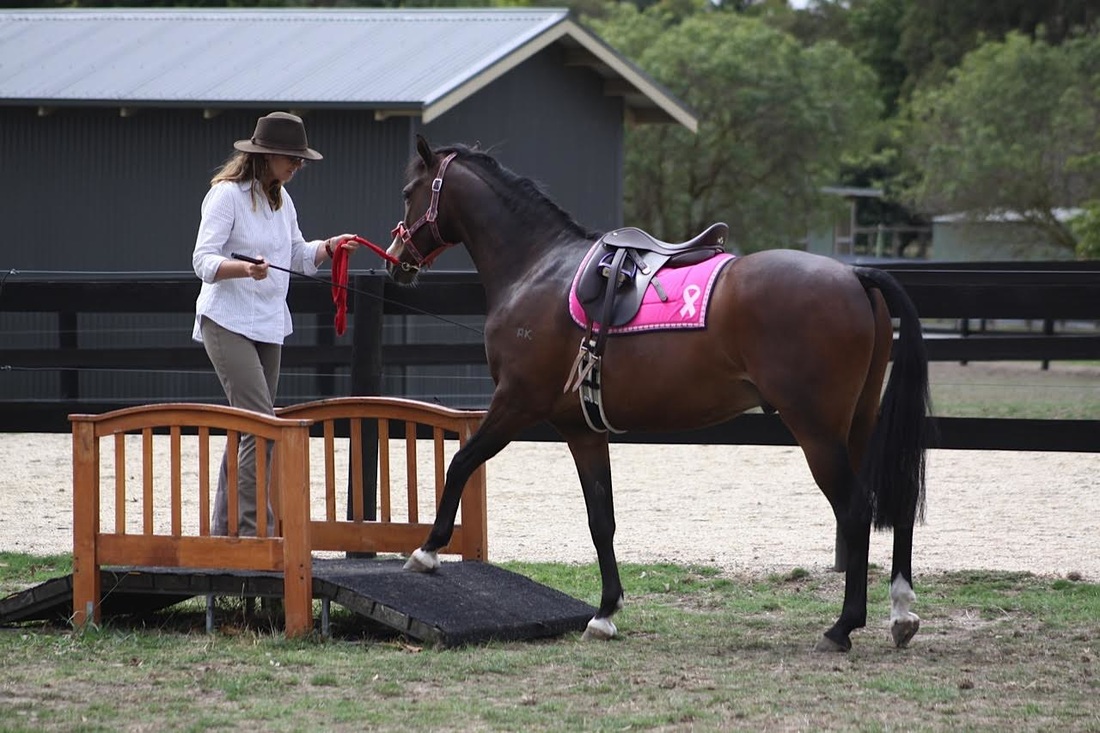
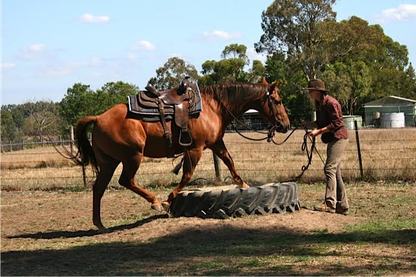
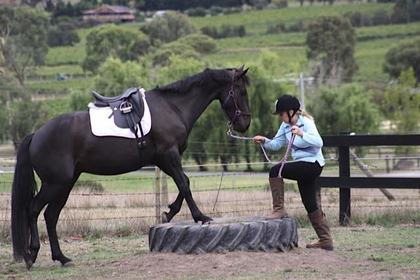
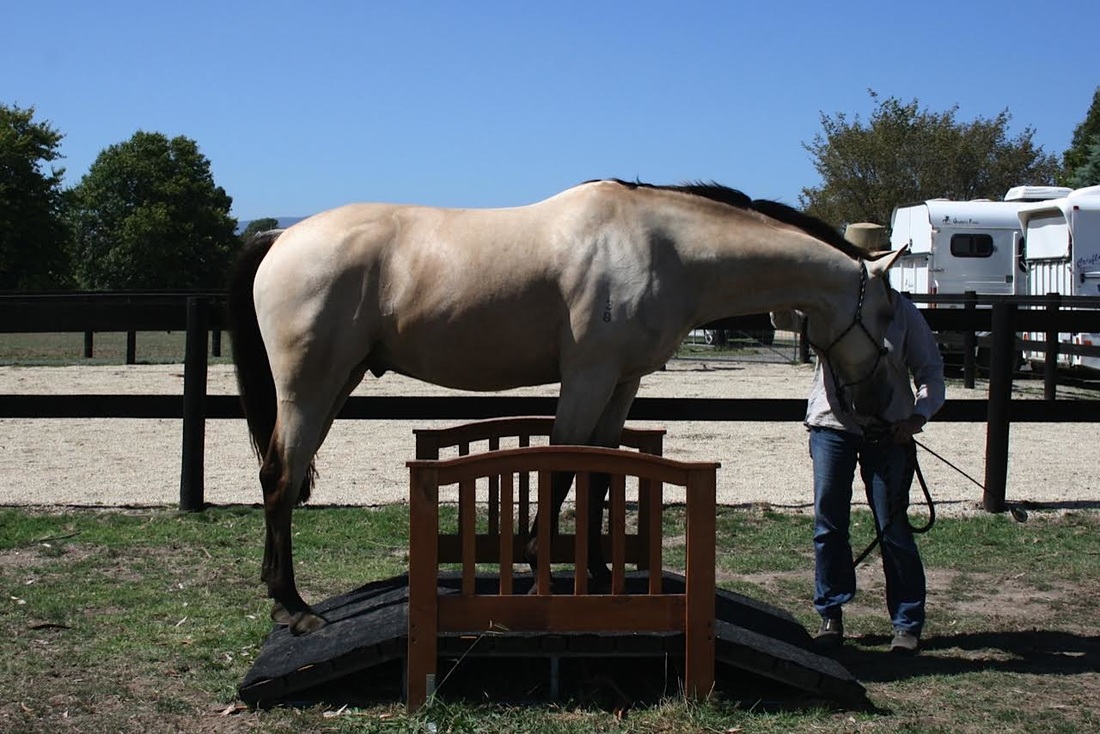
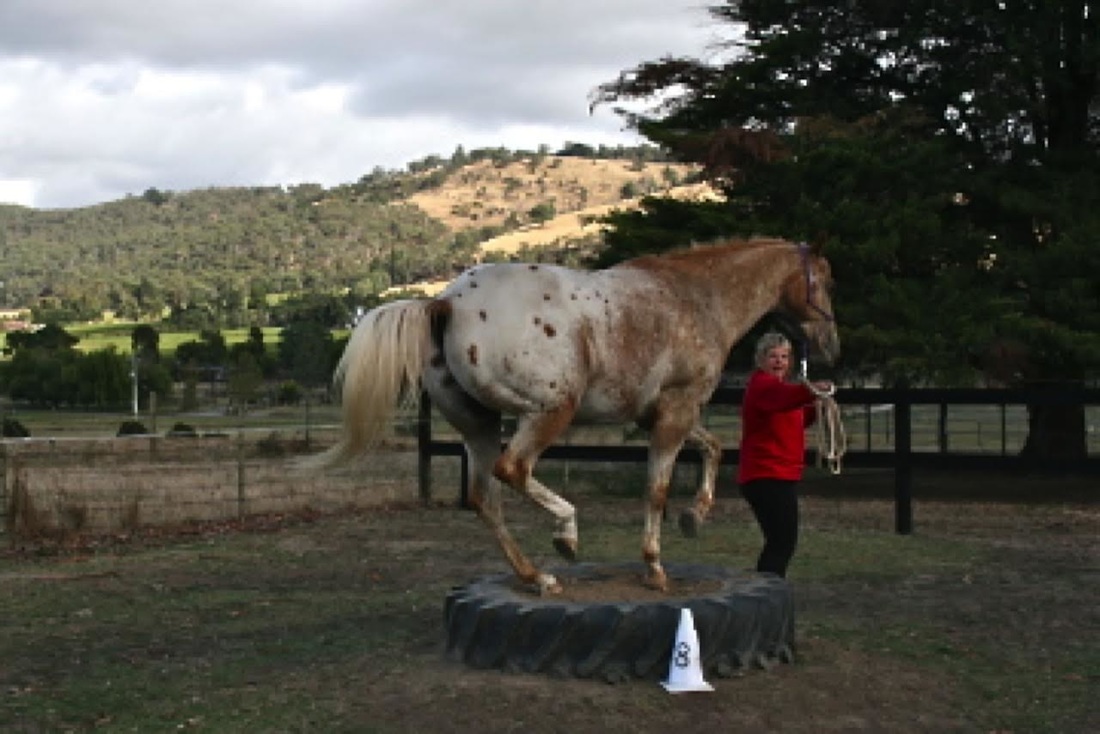
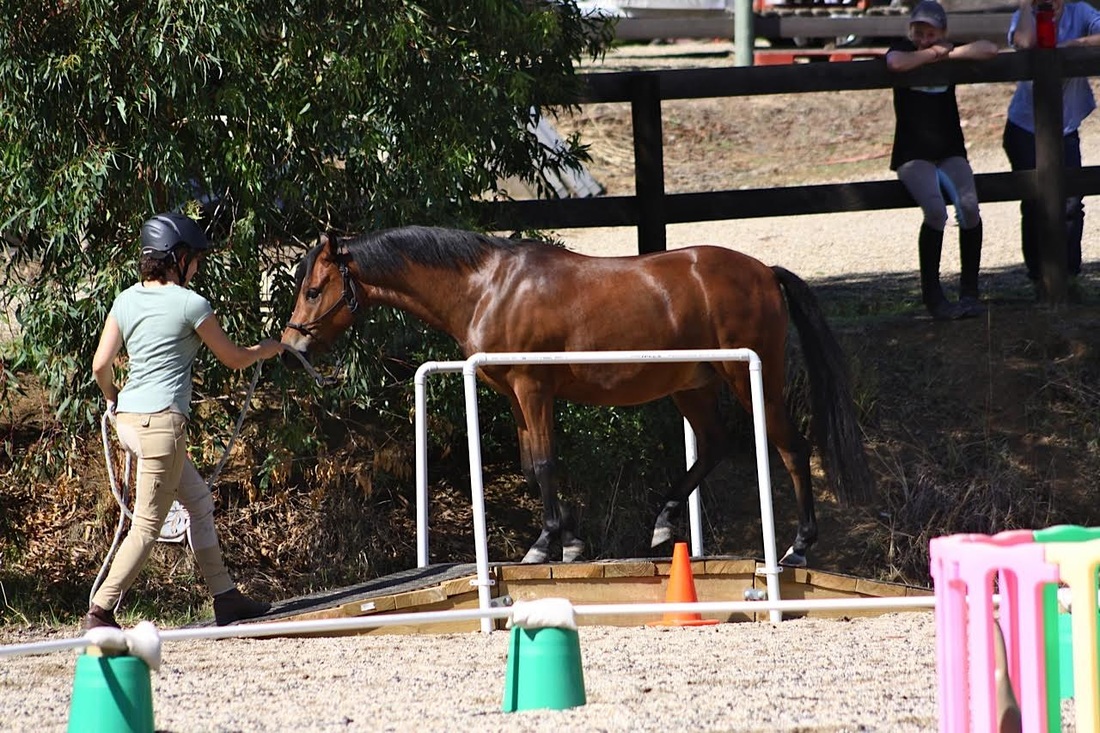
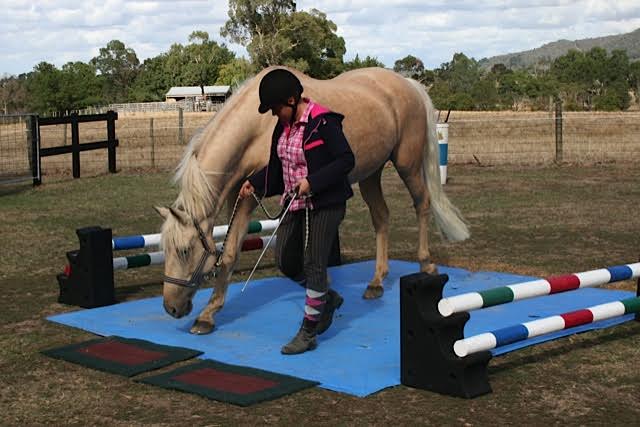
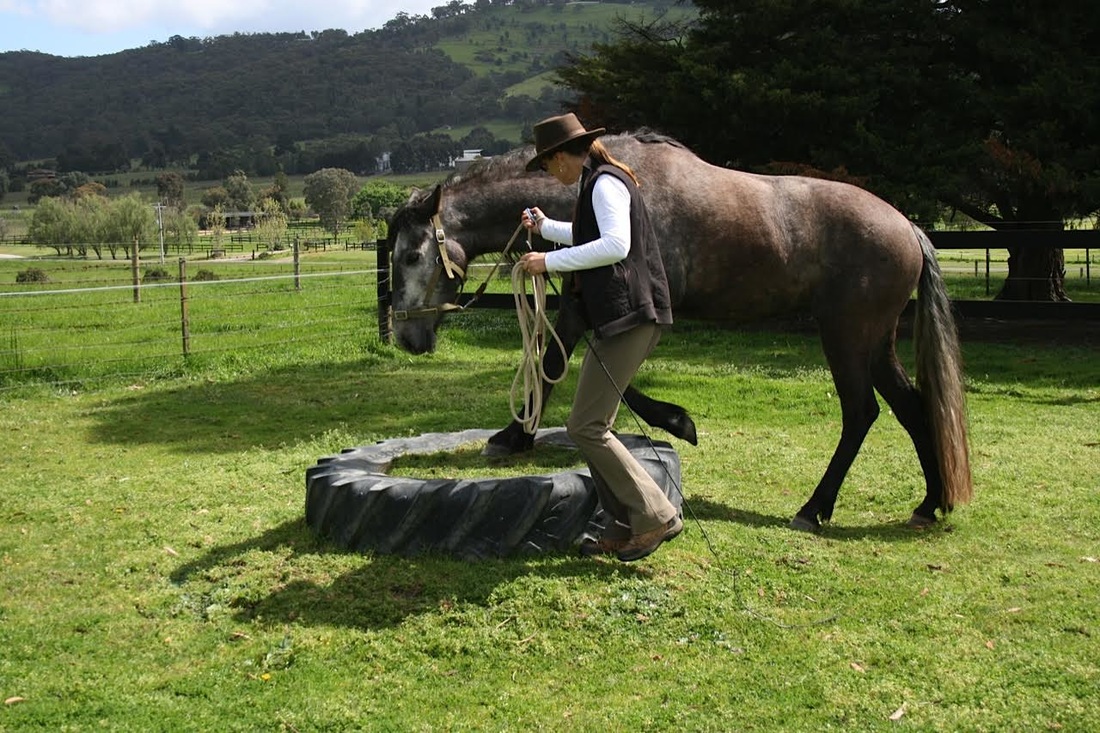
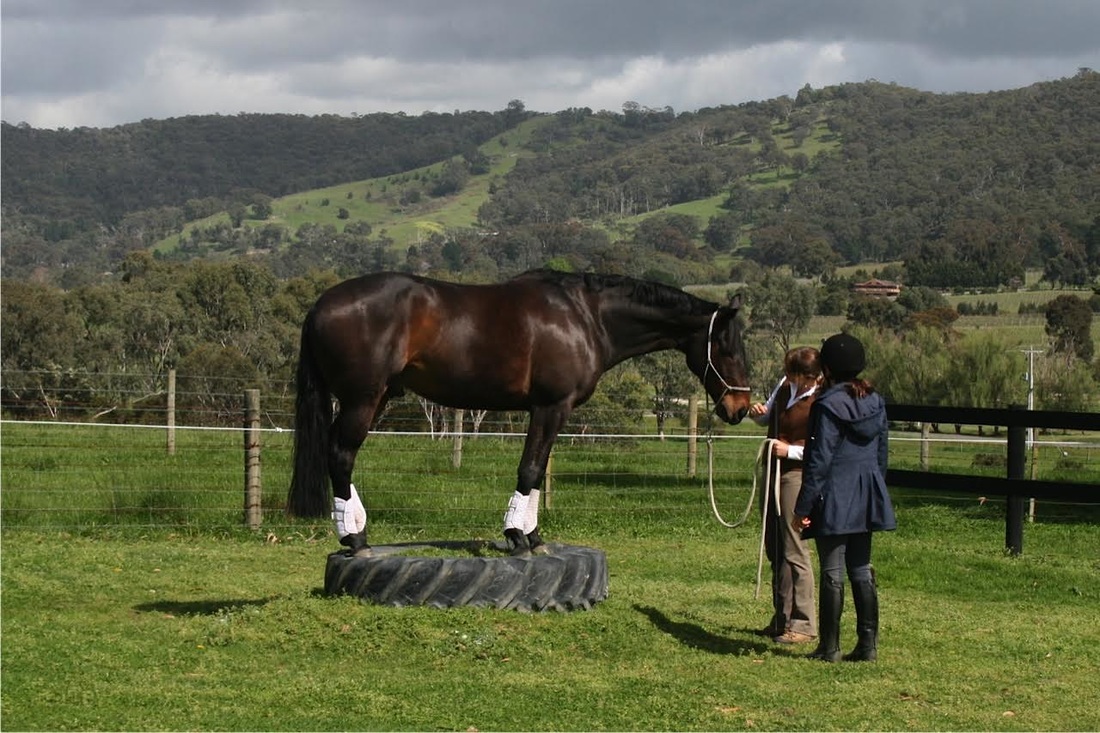
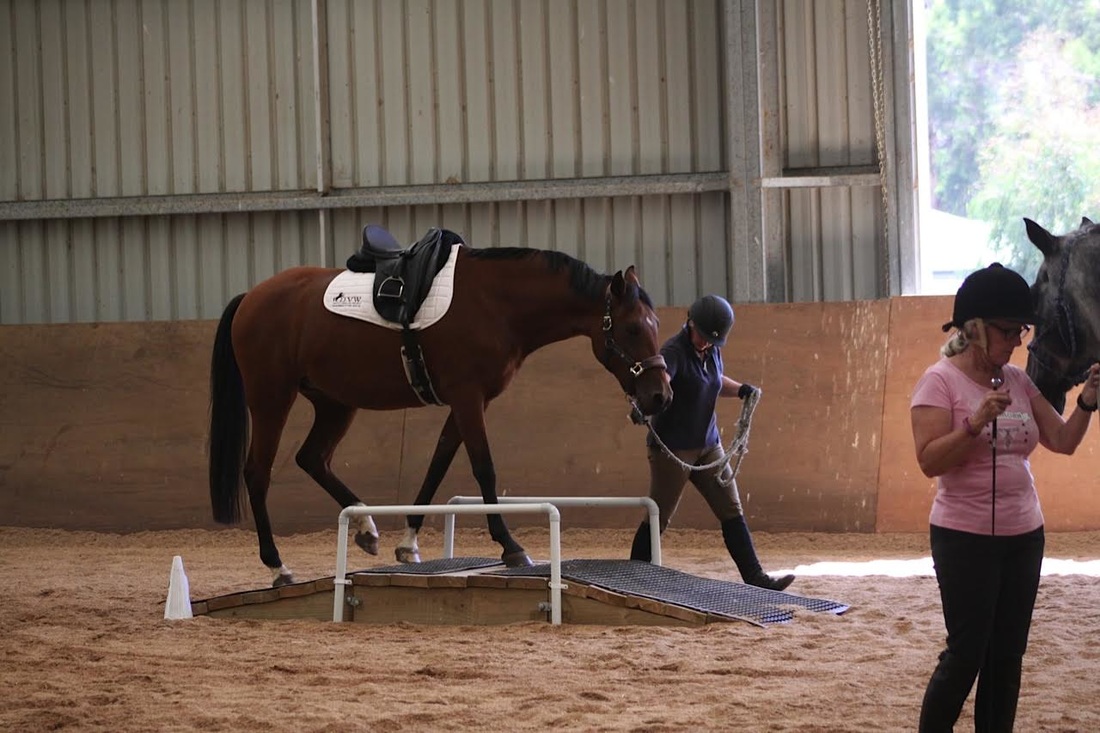
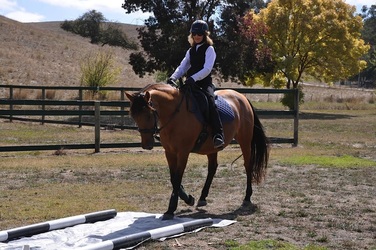
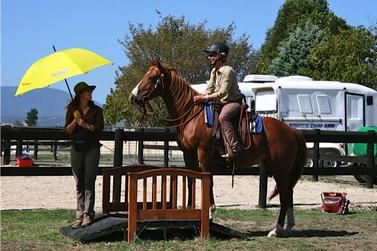
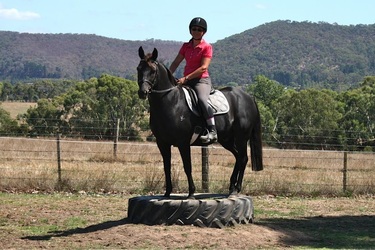
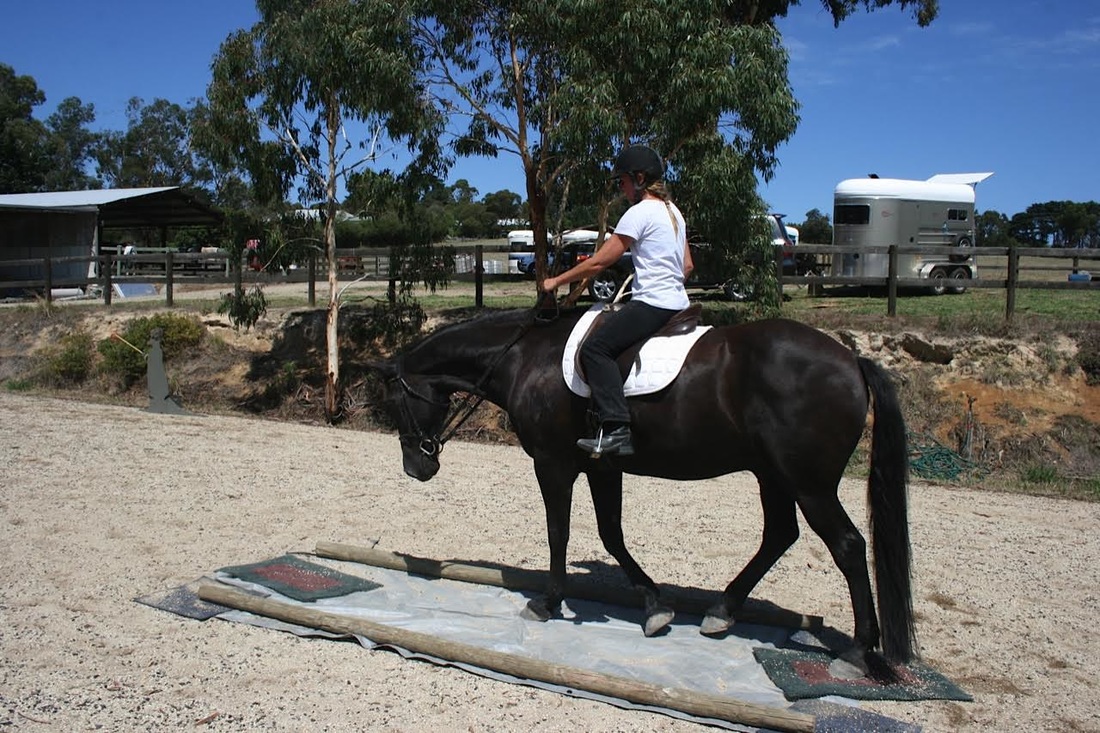
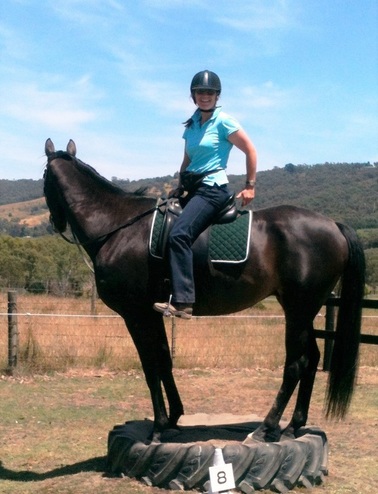
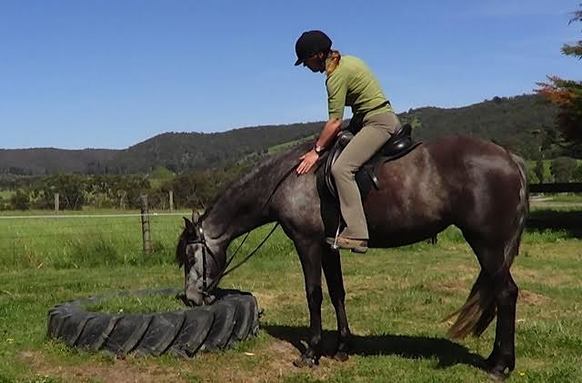
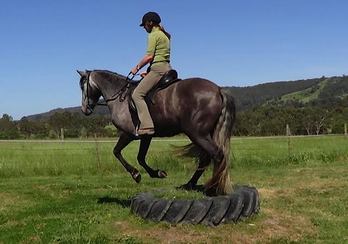
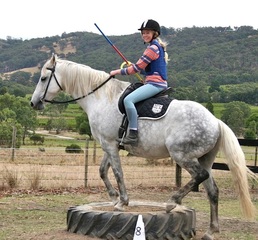
When training the tyre, the tarp or the bridge it is important to take it slowly to give the horse time to look in detail, from all sides, at what we are asking him to do. Of course it makes more sense to the horse to walk around it, so we need to be clear, kind and encouraging with every step, and to show good leadership in inspiring them to walk on and relax there. Five steps to get on the Tyre, the Tarp or the Bridge Every horse is different, and so is their person. Leadership from you determines the outcome with all training. If you are nervous or unsure it’s better to ask for help when approaching or working around obstacles. Otherwise your horse will mirror your emotions and will hesitate or refuse the obstacle, and this will make it harder next time. So, it’s better to get it right the first time. Equipment: Start on the ground first with a webbing or leather headstall a long lead rope, and a dressage or driving whip. Do not introduce this in a bridle. If the horse pulls back or jumps suddenly the mouth may be damaged by the bit. Safety Caution: Wear a helmet and safe riding boots. Some horses can leap suddenly right over the whole obstacle particularly the bridge, or tarp, or over one side of the tyre. So be prepared to get out of the way quickly. Do not use any of these three obstacles in wet conditions or when there is a hazard of slipping. A wooden bridge, plastic tarp or rubber tyre rim can be extremely slippery when wet. Step 1. Leading test - from the normal leading position. In a clear area, away from the obstacle, test your ‘leadership’ to check that the horse is following when you ask, turning, stopping or backing up when you ask. Create distance: its best not to lead from the horse’s shoulder. From the horse’s view point, this is putting yourself in the foal position, and that is like asking your horse to be leader. Lead from in front of the ears with the horse behind you to the side. Use your raising inside hand first for stop, and an inviting forward hand for go. Raise the whip behind you to encourage forward, and in front of the horse to encourage stop or back up. Avoid pulling or dragging: Try not to pull the horse forward with a tight or tugging lead. Invite the horse forward politely with eye contact and leadership. The horse should follow from your inspiring body language and hand signals, with reinforcement of the whip position – rarely tap with the whip. Look and act like a leader – that means someone who knows where they are going, is reliable and safe to follow! When the horse is light and responsive to stop, go, turn, rein-back with this leading, you are ready for Step 2. 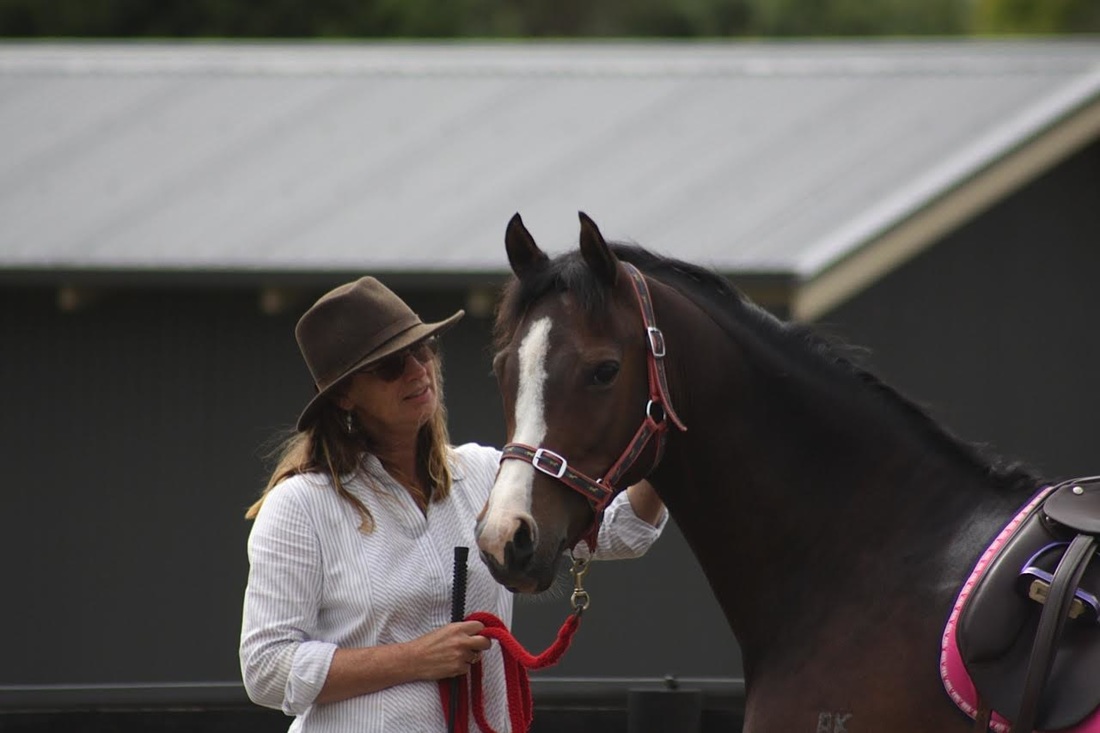 Lots of reward in a safe place Lots of reward in a safe place Step 2. Make it a nice place to be. Lead your horse confidently and calmly to sniff the obstacle. Praise and reward with a treat if you have them. As you stand holding the horse beside the obstacle: make it a nice place to be. Stand on the obstacle without asking your horse to do anything. Praise your horse for standing close and calm beside you. Scratch the withers, stroke the neck etc. then step the horse back and walk away – let the horse contemplate for a moment. Do nothing else. Return to the obstacle – lead the horse directly to it and repeat Step 2. Step 3. One foot forward & watch the ears & eyes. Stand in front of and facing the horse – at a little distance - with you in front of or up on the obstacle. You have a soft connection to the horse via the lead – not a pulling lead. Soften your body towards the horse, bending a little towards it and inviting it to come a little closer by stroking the lead rope as if you were pulling it in and saying “walk on” or “come up”. One step, half a step, or even a lean must be rewarded instantly with much praise and a treat if you have one. If the horse moves backward : allow the lead to slip a little but stay connected – try not to pull, tug, block or force. Immediately ask again, as above to find just one forward step. Soften, reward and praise - make a fuss with positive reinforcement. If you praise for the smallest effort, this will lead to much bigger efforts sooner. It is not helpful to think about getting the horse on the obstacle – its best to have few expectations at all – you will be less demanding and more patient to accept what happens without the need to control or manipulate. Take the time it takes to keep the horse relaxed. Relaxation in every step is the key to success here. You may be surprised how effective this can be in all your training and riding. If the horse moves sideways: - have the whip ready at the side you think the horse is thinking of escaping to. Create an imaginary wall with the whip waving slowly up and down like you are painting that wall with long strokes beside the horse’s shoulder. Similarly if the hind-quarters are swinging – make a wall near the hind quarters. Try to avoid touching the horse with the whip. Use this as a last resort, or if you feel unsafe. You may be able to rest the whip on the side that is avoiding – and it may be both sides – so be ready to be organized with the whip. Make it soft and easy for the horse to go forward (without standing on you) and awkward to escape. Watch the ears and eyes: - if a horse is about to move – it will usually first turn one ear or eye in that direction, before the head and feet move. Look at your horse’s eyes and ears, to predict what the feet will do. Back off and go away: Once your horse takes one foot up onto or towards the obstacle, or tries to paw it, sniff it, bite it, play with it. Praise and reward, ask the horse to step backwards away from the obstacle, but still facing it. This is called ‘advance and retreat’. ie. taking the scary thing away from the horse, or in this case, the horse away from the scary thing. It’s important that you do this at exactly the right time, that is, the instant when the horse shows interest and confidence, not fear or avoidance. Repeat a few times before you ask the horse to go further onto the obstacle. You may find that he is now more interested in exploring it further, and if given time to think, and good timing of your rewards, this is usually when they choose to get on and give it a go. Step 4. Progressively 2 + 2 = 4 feet on. Once you have one foot, you may be able to judge if your horse will want to walk over, jump right over and off or duck off the edge. When you have 2 front feet on, ease off, stop. Ask for nothing but relaxation and breathing. Praise and reward again, while one or two feet are on the obstacle. Often in this moment - the horse goes into ‘la la land’ for about 30 secs – they freeze like they stare into themselves, processing what to do next and how to proceed. Try not to miss this moment – give them time. They will start to blink and move their ears when they come out of it. Then you quietly lead on. And if the horse goes straight over, ok, praise. If it goes with 3 or 4 legs, ok, praise. If it stands there relaxed – you have achieved relaxation on the obstacle!! Well done, walk off, go do something easy and don’t try again for about 15 minutes. Or go to step 5. Step 5. Leading over from the normal position. 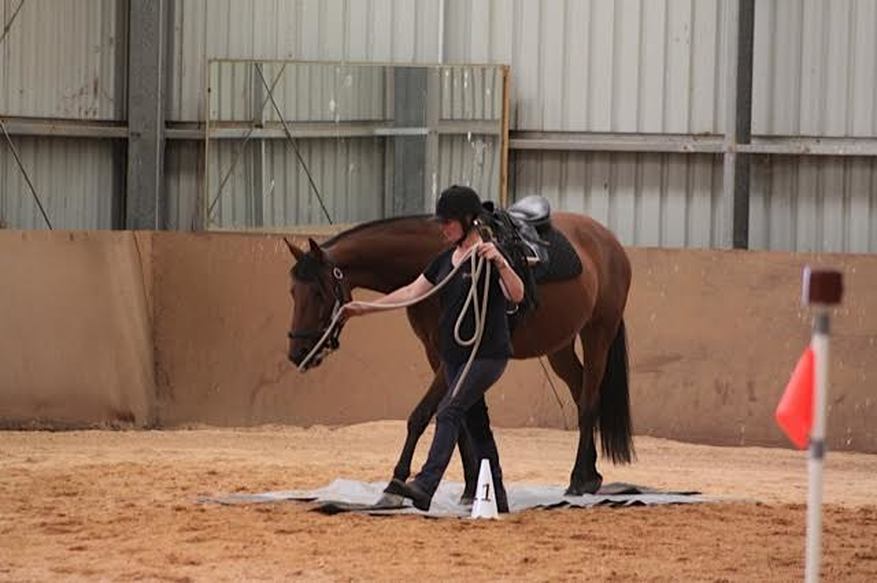 River is led with a confident but soft feel on the lead River is led with a confident but soft feel on the lead If it’s going ok so far – you should be able to turn around to the front, and with your horse in one hand and your whip in the other, lead around in a clear area - away from the obstacle – as you did in Step 1. Do this for about 5 minutes until it’s sharp and responsive. Then look up into the distance past the obstacle and with your most confident and calm ‘leader’ posture and ‘let’s go there’ manner, you should be able to lead your horse over the obstacle – almost as if it wasn’t there. If not, go back to Step 1. NOTES ON GIVING TREATS:
NOTES WHEN UNDER SADDLE:
FOOTNOTE “The Bank Jump” is an official obstacle in international Working Equitation competition. When facilities allow, it can be included in various forms, but for official competition the rules specify as follows: a. Description. The obstacle consists of a level plateau at least 2 m (6 to 8 ft.) wide leading to an embankment of natural substance positioned not more than 30 to 60 cm (1 to 2 ft.) above ground level, terminating in a ramp back to normal ground level. b. Execution. The horse should approach and maintain the chosen gait through the obstacle naturally and without any hesitation. The obstacle can be executed in either direction. c. Assessment Criteria Style. The judge will evaluate the manner in which the horse approaches the bank, the smoothness of the jump, the consistency of gait throughout the exercise, and confidence in the rider’s instructions. |
AuthorSusie Walker ArchivesCategories |
